Knowing who your users are and how they interact with your product is an essential part of designing a good user experience. In order to achieve that you need to be able to look at a product from a user’s perspective, and understand their actions, feelings, needs and frustrations. Luckily, there’s a way to do so and that’s by creating a user journey map.
What is a user journey map?
A user journey map is a visual representation of all the actions a user takes when interacting with your product. They are generally focused on illustrating the process of a user achieving a certain goal in a specific timeline. The idea behind it is to deconstruct the experience of your users into smaller specific steps to help product teams better empathize with the end-user when creating or redesigning a product.
💡 Prefer to learn about user journey maps in video format? Check out our video below:
Mapping out user journeys helps to get a deeper understanding of the habits, needs, and pain points of the target audience, therefore allowing teams to design for a better user experience.

User journey vs. customer journey
User journey and customer journey are two terms that are often used interchangeably when describing one or the other. While we can argue that a user is not always a customer, in the context of mapping out their actions, it doesn’t really matter which term you choose. In this guide, we are mostly going to be referring to it as a user journey map.
User journey map vs. user flow
While both the journey map and user flow are focused on mapping out users’ interactions with the product, these terms are not the same and should not be confused. The key difference between these two techniques is that a journey map is more focused on understanding the user’s feelings and pain points at each stage of the journey, while a user flow is much more technical.
User flow is focused on describing user’s micro-interactions with a product, usually at one specific stage. It doesn’t include information about the user’s feelings and frustrations during the interaction and doesn’t go through different touchpoints as a user journey map does.
A journey map, on the other hand, gives us a “bigger picture” of the user’s interaction with the product across the touchpoints. It highlights their frustrations and specific actions at each of the journey phases and overall just requires much more user research and information to create.
Benefits of creating a user journey map for your product
Creating a user journey map is the ultimate way of seeing the product from a user’s point of view. You’re not only mapping out every action a person takes when trying to achieve their goal with your product, you’re also describing their emotions and frustrations during each step.
This, together with listing their needs and expectations can help to generate ideas for product optimization. By doing this you’re smoothing out the user journey, reducing customers’ pain points, and creating a truly user-centered product.
There are 3 main area user journey mapping can help you with:
- Uncovering blind spots: by being so detailed, user journey maps give you an opportunity to notice hidden flaws and develop innovative solutions to users’ problems.
- Prioritization: helps to determine which product features are optional and which ones need to be prioritized more. Once again, journey mapping also helps to find out which important features your product is lacking.
- Supporting design decisions: user journey maps give you enough information to create user-centered design prototypes backed with data, not just assumptions.
- Empathizing with users: diving deeper into the background behind user’s actions helps to better understand their needs and expectations of your product and design accordingly.
What should a user journey map include?
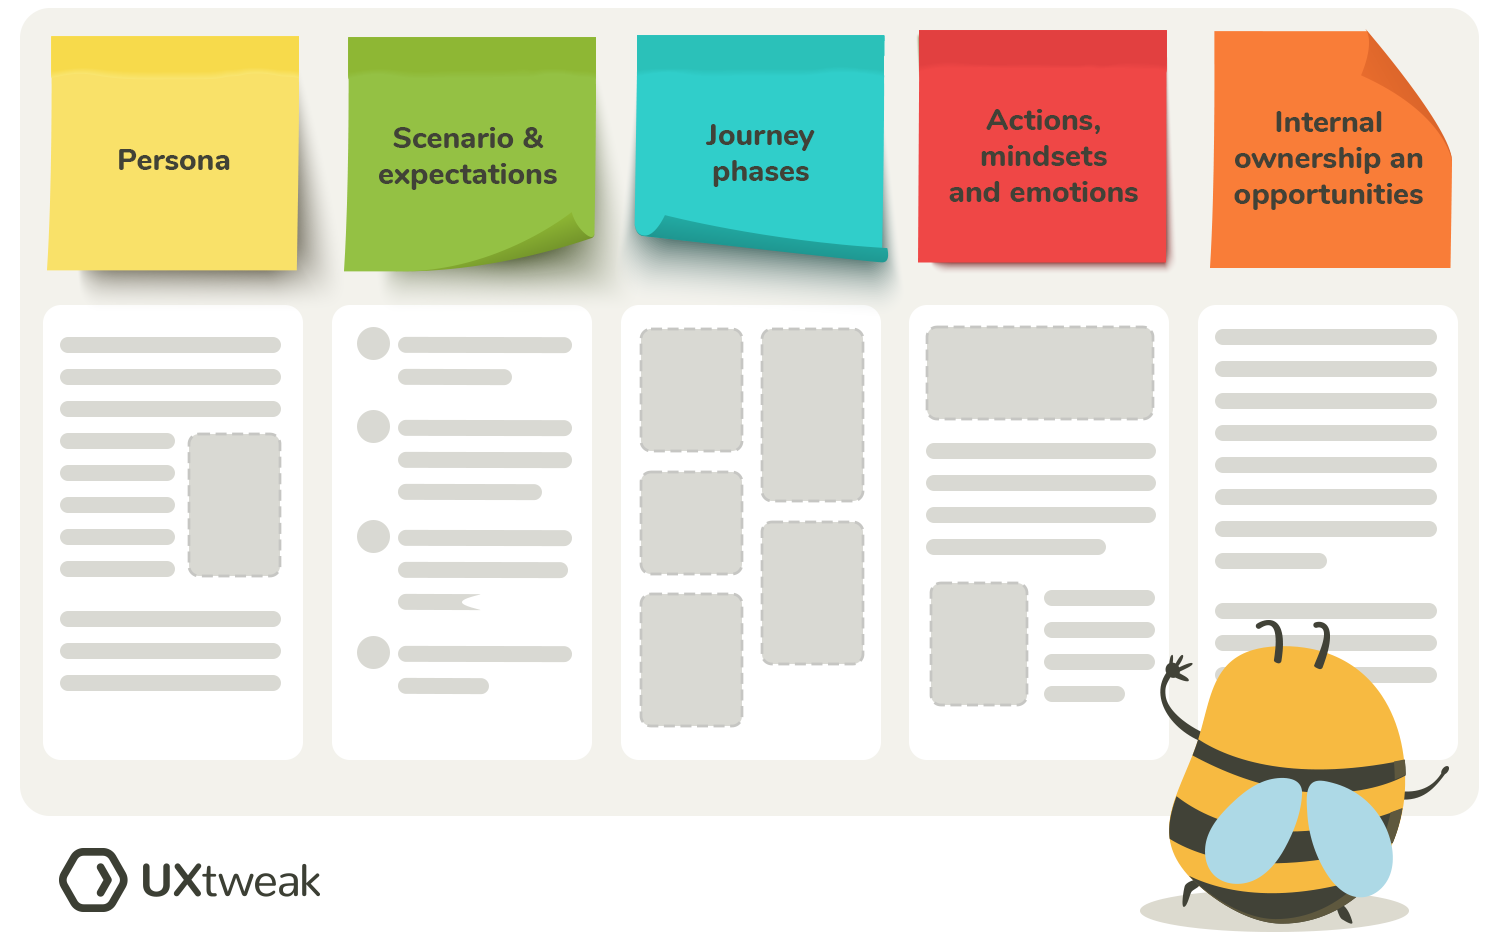
A good user journey map should include five main components in order to be useful to your research: persona, user scenario, journey phases, actions and emotions, and opportunities for improvement. Depending on the type of map and your goals, there might be some additional components. We’ll describe each of them in the next section.
Components of a user journey map
There are many user journey map templates available online that you can customize to fit your company’s specific goals and products. And while many of them have different layouts and additional sections, there are 5 main components that they all have in common. These are the main elements a good user journey map should include in order to be helpful.
NN/g defines these 5 main components of a user journey map:
- Persona
- Scenario + expectations
- Journey phases
- Actions, mindsets, and emotions
- Internal ownership and opportunities
Persona
Your user persona is the one who the journey map is about. They are the audience that you’re creating your product for, and therefore, the main target of your research. If there are different segments in your target audience, make sure to create a separate user journey map for each of them.
A website for job search, for example, would need to create two user journey maps – one for the person who’s posting a job and the other for the one who’s seeking it.
Scenario + expectations
This part of a user journey map describes the user scenario behind it a.k.a the situation you’re mapping out. It’s closely related to the end-user’s goals with your product and the process of achieving them in a certain timeline.
An example could be as simple as making a purchase on an e-commerce website. The scenario should be specific and realistic in order to be able to successfully map out the journey. At this part of the map you also mention user’s expectations of a product, what they anticipate their experience to be like?
Journey phases
Journey phases can be described as high-level stages of the user journey. You need to highlight them in order to later be able to describe specific user’s actions and feelings at each stage. These usually vary from product to product, depending on the research goals.
For example, for a bus ticket booking website, the phases would be: researching and planning a journey, booking a trip, pre-travel, during travel, and post-travel experiences.
Actions, mindsets, and emotions
The most detailed and important part of your user journey map. At this stage, you describe the specific actions a person takes at each stage as well as their mindset and feelings during the process. Ideally, you want these assumptions to be backed up by previous user research.
Opportunities and internal ownership
This component serves as a “conclusion” of your user journey map. Here you describe the insights obtained from mapping out user’s interactions with the product, list the opportunities for improvement and everything that needs to be added/eliminated from the journey. As a final step, you assign the implementation of those changes to a specific team or a team member.
How to make a user journey map?

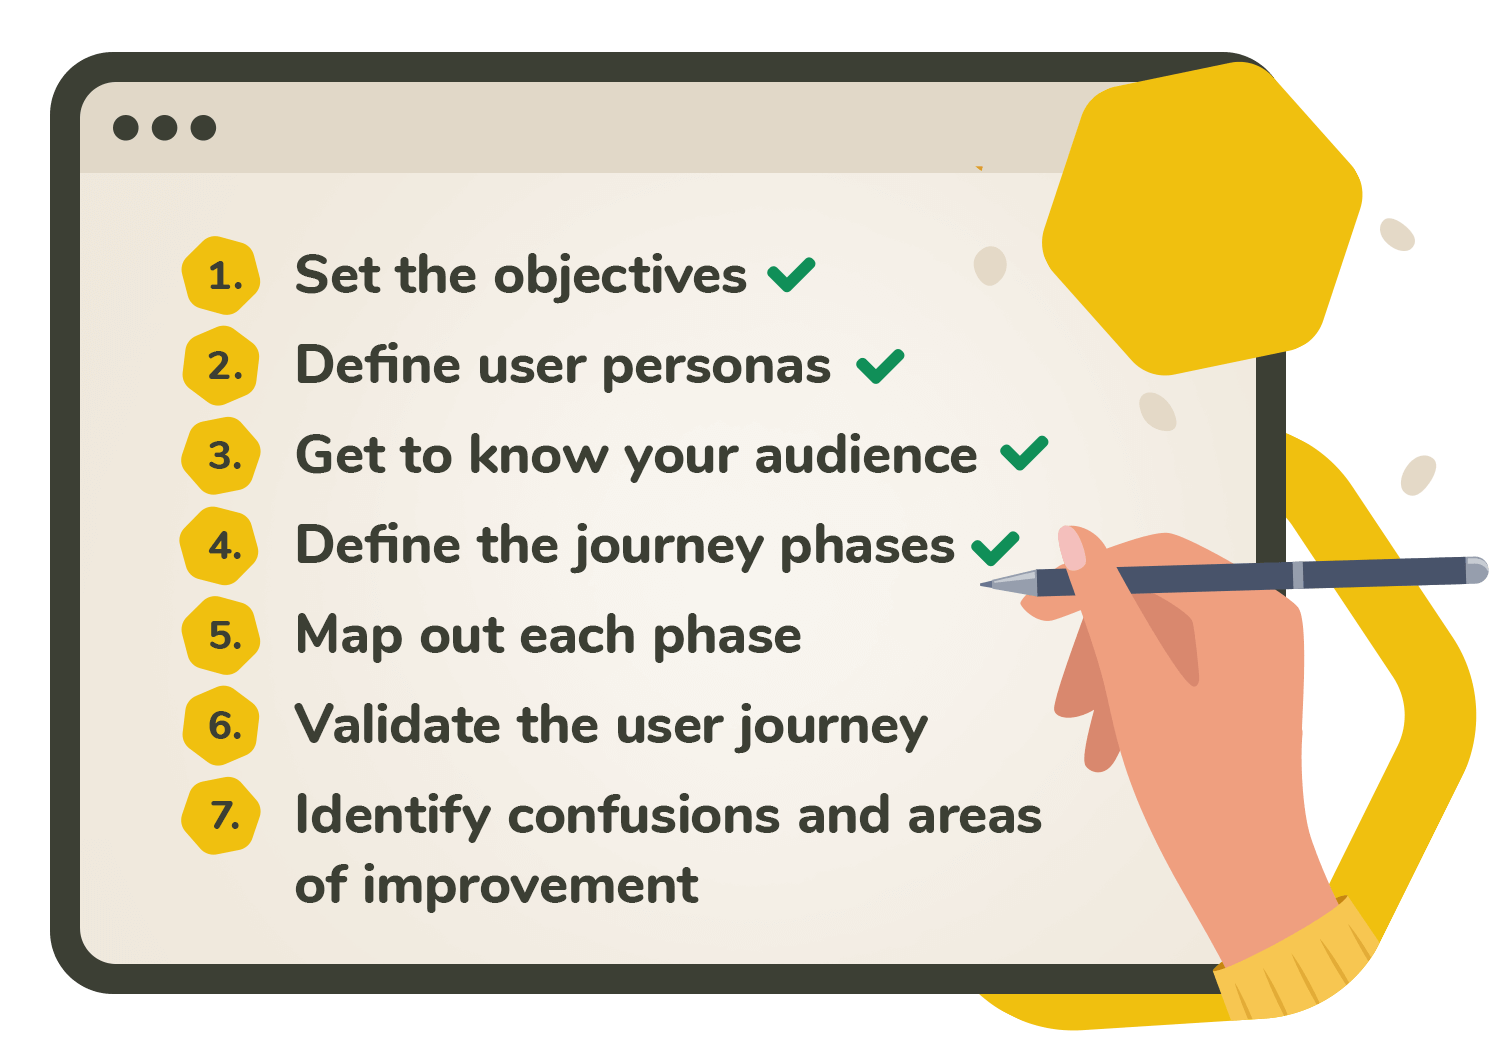
7 steps to map the customer journey / create a user journey map:
- Set the objectives
- Define user personas
- Get to know your audience
- Define the journey phases
- Map out each phase
- Validate the user journey
- Identify confusions and areas of improvement
Let’s take a closer look at each of the steps.
1. Set the objectives
Start by defining clear objectives. Why are you creating a user journey map? A practical journey map should have a clear, realistic purpose, such as:
- Reducing cart abandonment
- Identifying and minimizing customer frustration
- Increasing average purchase value
- Encouraging more repeat buyers (boosting customer loyalty)
Consider what specific information you want to uncover and, most importantly, which user scenario or experience you’ll be mapping.
It’s also important to define the scope of your future user journey map. As we already mentioned they come in all shapes and sizes depending on the type of interaction you’re looking at. You may want to map out a specific part of a certain interaction.
For example, upgrading a pricing plan in an online tool. Or, you may want to describe a more general, high-level interaction, like a full journey of going from awareness to conversion.
2. Define user personas
As soon as you have your scenario prepared, it’s time to focus on your user personas. Don’t forget that you’ll need a separate map for each user segment. If you’ve come so far as creating a user journey map, even if it’s for a new product, you probably already know who your users are. Therefore, at this step, you just need to decide on the right segment for a chosen scenario.
3. Collect user insights
This is the most important part of the process. You can’t just base a user journey map on your own assumptions, it needs to be backed with data. Make sure to take your time to conduct thorough user research. Conduct user interviews, surveys and usability tests to find out more about your users’ needs, frustrations, and habits as well as see how they interact with the product.
There are tons of online user research tools to help you do that.
4. Define the journey phases
When you’re familiar with the user, start defining the phases they go through in your user scenario.
5. Map out each phase with research data in mind
Using the findings from your user research session, map out each phase of the journey by breaking it down to specific steps a user takes in order to achieve their goal. Describe their feelings and frustrations at each step. What are they doing? What confuses them? What product features do they use, what pages do they go through, and how easy it is for them to achieve the goal?
Follow a user journey map template to make the process easier or just use one of these user journey mapping tools.
6. Validate the user journey
A user journey map should be based on a real interaction with a product. That’s why after creating one you need to validate how realistic it is by once again testing with a user. Conduct a usability test using some of the online usability testing tools and check if the map actually illustrates the real-life scenario you described earlier.
7. Identify opportunities and areas of improvement
Analyze the map and drive conclusions on what needs to be improved at each stage. Look at the areas where users got frustrated, identify why this happened, and what you can do to change it.
Rather than treating your user journey map like a static resource or a museum piece, think of it as a living, active reflection of what your team is working on. While user journey mapping offers great transparency into the user experience, it will never be perfect. Your goal is to regularly review the map’s accuracy and make adjustments as needed to keep it relevant and up to date.
Your user journey map is created. What’s next?
Now that you’ve mapped out your users’ journey and identified key opportunities and challenges, it’s time to apply these insights. Each department plays a crucial role in improving the user experience.
- Executive departments: use the user journey map to guide decisions and ensure the company focuses on user needs.
- Product departments: create products that solve user problems and address key pain points.
- Marketing departments: develop targeted content to move users through the journey stages effectively.
- Sales departments: use journey insights to address concerns and smooth the decision-making process.
- Customer service departments: offer strong post-sale support to build loyalty and handle user issues efficiently.
Each department can use the user journey map to better understand users and improve their experience, from the first interaction to long-term loyalty.
Conclusion
👉 A user journey map helps you understand how users interact with your product, showing their actions, emotions, and pain points.
👉 By breaking down the experience, you can find issues, prioritize improvements, and design more user-focused products.
👉 It’s important to update the map regularly to reflect changes in user behavior and keep it relevant.


