Share study to respondents
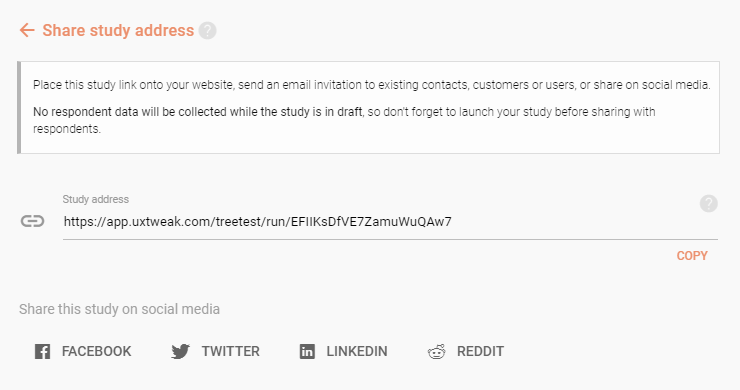
Send your respondents your study address (and don’t forget to launch your study first!).
Learn how to set up and use UXtweak
Explore possibilities with demo studies and results
Export and analyze insights faster. Sync your favorite tools with UXtweak
Resources for mastering research, design and product
Definitions of UX terms and phrases
UX insights and tips to sharpen your skills
Studies published in peer‑reviewed journals and industry publications.
Watch our quick, educational UX videos
Listen to top researchers share their stories, wins, lessons
In this help, we’ll discuss how to use the Recruit tab to:

Share your study via email, social media or ad campaigns. Order panelists. Turn visitors of your site into participants.

Send your respondents your study address (and don’t forget to launch your study first!).
The Onsite Recruiting Widget gives you the opportunity to turn regular visitors from your website into respondents in your studies. The widget works as a tool independent from your study, allowing you to manage recruitment for your studies on multiple domains in one place.
To start using an Onsite Recruiting Widget, click Create widget for this study to create a new widget with your study assigned as the target of recruitment. The widget will start appearing on your site once you’ve launched both the study and the Recruiting Widget. To learn how to set up your Recruiting Widget, please see the dedicated documentation.
If you already have Onsite Recruiting Widgets assigned to recruit respondents into your study, you will see them listed here.

Adding the Recruiting Widget on your website is simple. Start recruiting authentic members of your target audience in few easy steps.
Own database is the ultimate tool for researchers who have a big pool of their own participants or users willing to participate in their studies. Simply import the email addresses of these participants into UXtweak together with any additional information you might want to use for the targeting process.
To set up an invitation batch, click Recruit from Own Database. This will take you directly to the setup of the Own Database recruiting for this study.
Read more about how to set up the Own Database recruiting in its own documentation.
If you need more participants, you can always order new ones through our User Panel. This option provides you with access to more than 155 million users from 200+ countries with more than 2000 profile attributes to choose from.
To create a new panel, click Create user panel for this study. You will be taken directly to the setup of a User Panel order for this study.
Read more about how to use the User Panel in its own documentation.

Order the participants you need in less than 2 minutes. Choose the profiling attributes of your target audience, how many you need, for how long and let us handle the rest.
Use UTF-8 encoded CSV files to ensure that the import works correctly. The simplest way to save your imported file with UTF-8 encoding is to edit it through Google Sheets (click the link for more instructions). To get a UTF-8 encoded file when saving your file in Excel, go to File -> Save As and select CSV UTF-8 before you click Save.
CSV file format example
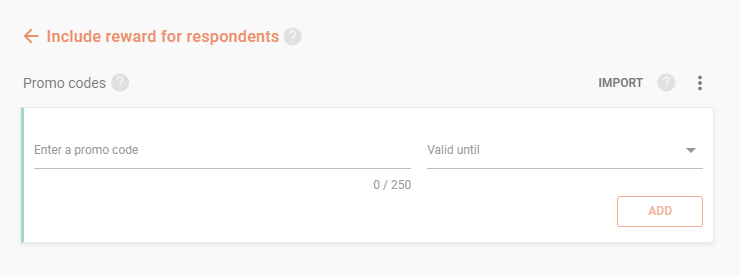
Coupons can be imported or added manually, code by code. They will be given to the respondent once they complete the study.