My participants
List through your imported participants, edit them, delete them and sort them into segments.
Learn how to set up and use UXtweak
Explore possibilities with demo studies and results

Export and analyze insights faster. Sync your favorite tools with UXtweak
Resources for mastering research, design and product
Definitions of UX terms and phrases
UX insights and tips to sharpen your skills

Studies published in peer‑reviewed journals and industry publications.
Watch our quick, educational UX videos
Listen to top researchers share their stories, wins, lessons
This section covers more about:
Each participant entry adheres to the database structure, which means it has all the set up columns available even if there is no value present for them.
You can hide any of the columns from your database. Hiding a column doesn’t remove it from the database, it simply hides it from the view. Hiding a column won’t have any effect on Segments which use it in their conditions. You can do this either by unticking it in the columns dropdown menu or in the Edit Columns screen. This screen allows you to change the column structure of your database. You can:
The key difference between hiding and deleting a column is that you are permanently removing data from your database after you delete a column. Be careful when doing so because the only way to recover the data is to re-import them into your database. Don’t remove columns which are used in saved Segments.
To keep your database tidy and lean, the only way to add a new column is by importing a new participant which has this column in their entry. This will help prevent accidently having meaningless columns in your database.
If you want to keep notes in a column about the studies in which the participant took part, we suggest using tags for this. Additionally you can see the history of activity for each participant in their Participant detail.
List through your imported participants, edit them, delete them and sort them into segments.
Information about the history of participation in studies for each participant is displayed in the Recent Activity tab. You can see all the studies the participant was invited into and when. You are also presented with the information on their participation, whether they joined the study or not. This will help you in deciding if you would like to invite someone into your study or not.
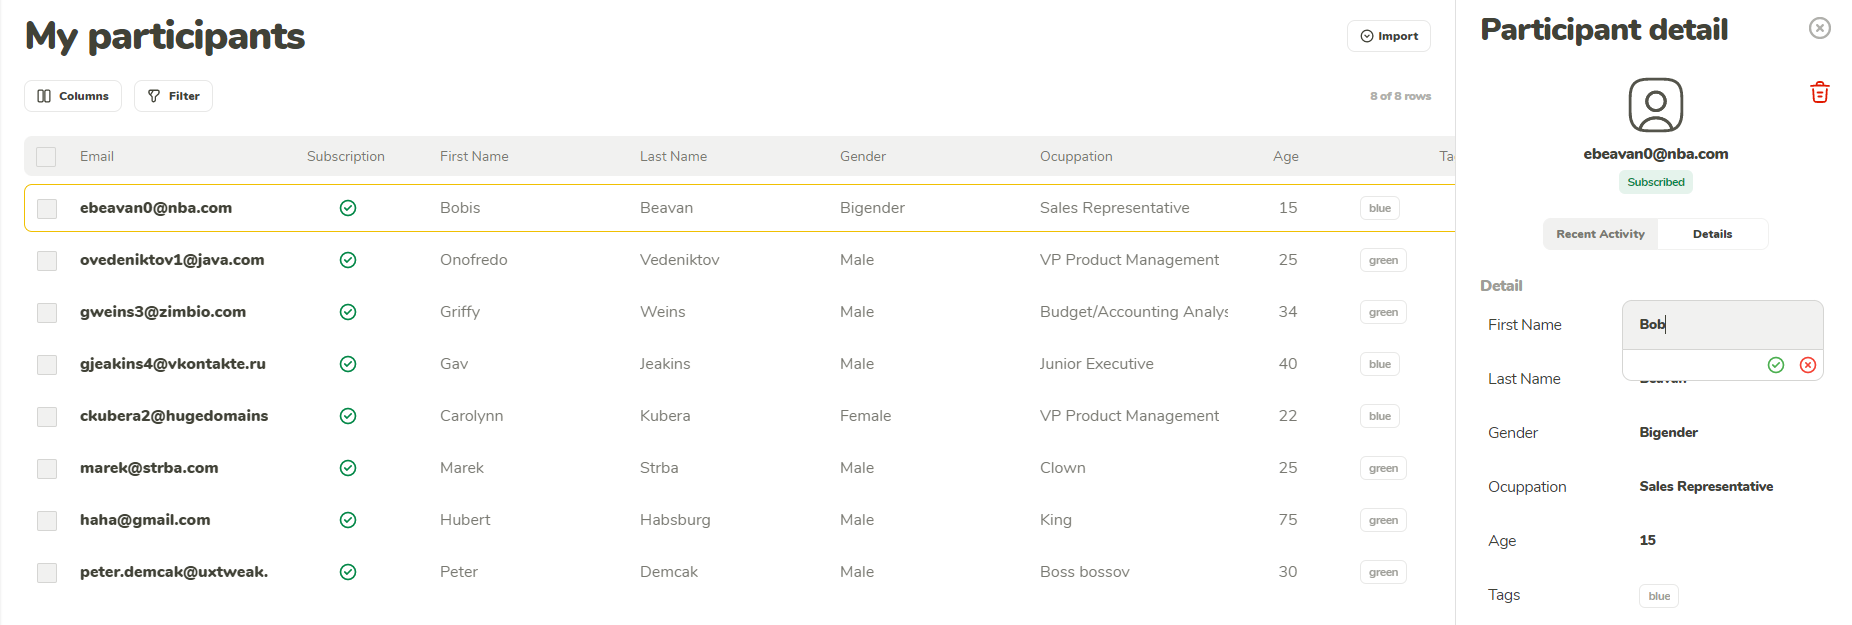
All information stored in the database about this participant can be seen in the Details tab. To change or add a value for a field by simply clicking on it and using the presented input field. You will see the change propagate into the database immediately after you confirm it by clicking on the green tick, or outside the input field.
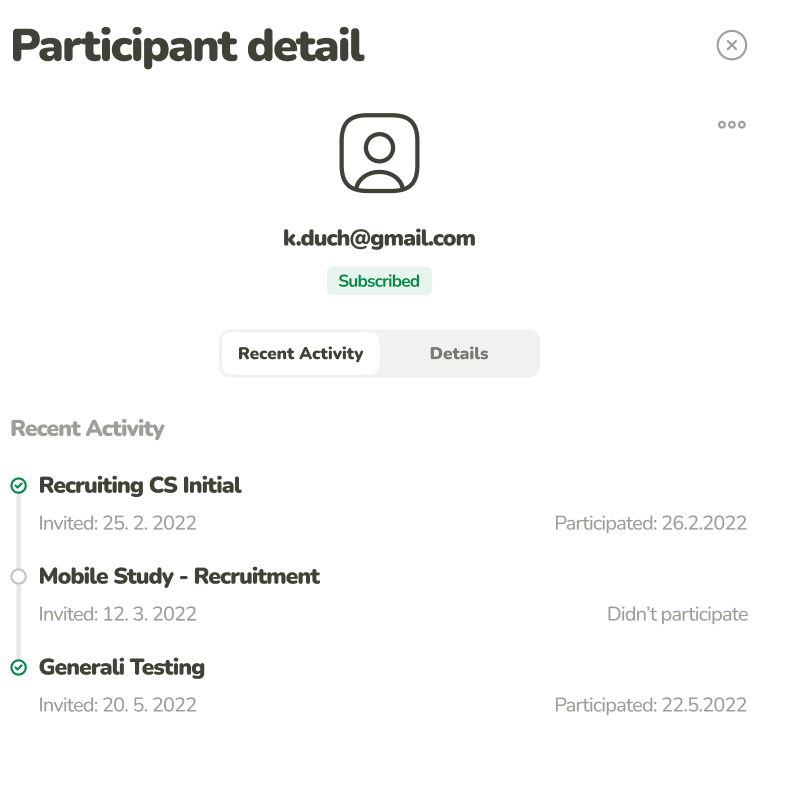
The Recent Activity shows you the studies into which was the participant invited and if they completed those studies. Switch to Details to access the information stored about the participant in your database and edit this information.
The tags are an option to add small pieces of information to the participant entry without the need of creating a new column. This can be for example:
Tags are also used in filters to aggregate a group of participants together, which otherwise don’t have any common information in the provided columns. During the import from a file you can assign the same tag to all the participants you are about to import. This is an ideal moment to mark them with the import date. Also during the import you can decide to import any column from your file as a tag, this is especially useful for the columns which don’t have consistent information in them or are categorical with more than two possible values.